A regular user often deals with different types of errors while using Windows. Driver Errors, BSOD errors, frequent crashes, etc., were nothing new for a Windows user. Since Microsoft knows its operating system is not without flaws, they have introduced a utility known as ‘Reliability Monitor.’ Reliability Monitor offers a quick, user-friendly interface that displays recent software and hardware crashes. It lists all random shutdowns, hardware errors, system errors, etc. The tool is meant to help users identify system problems, but it can help you in multiple ways. Also Read: How to Turn Off Location Access in Windows 10
Use the ‘Reliability Monitor’ Tool in Windows 10
The Reliability Monitor tool is actually kept hidden from the user, but users can access it easily. In this article, we will share a detailed guide on how to use the Reliability Monitor tool on Windows 10 computers. Let’s check out.
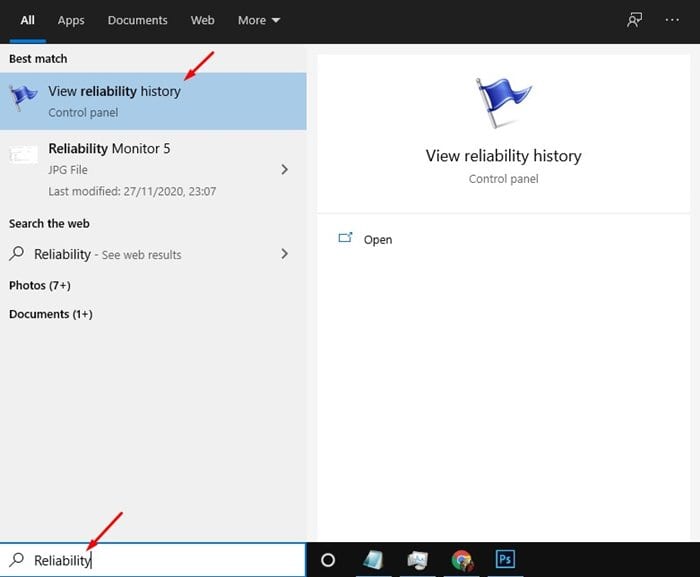
- First, search for ‘Reliability Monitor’ on the Windows search.
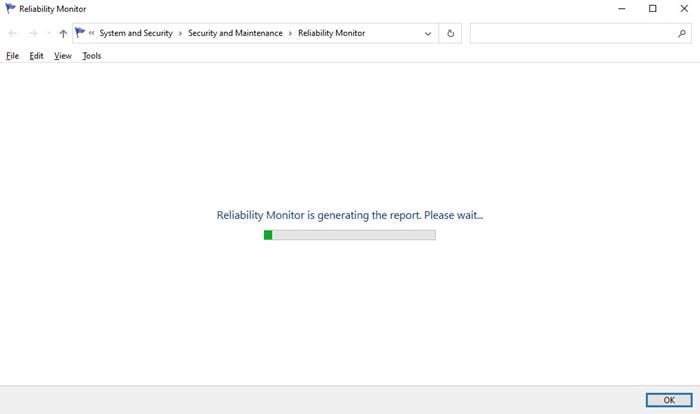
2. Open the Reliability monitor and wait until the tool gathers the information.
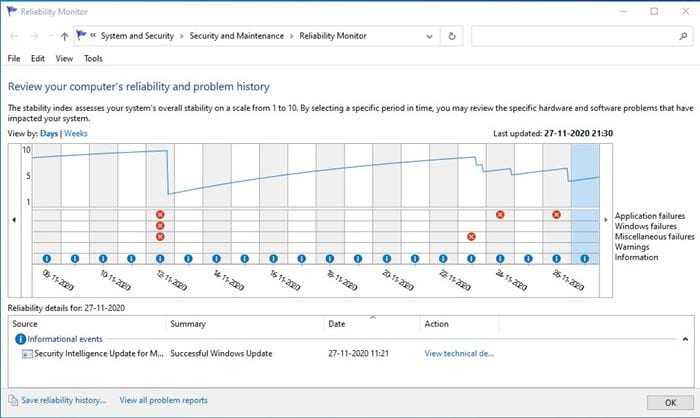
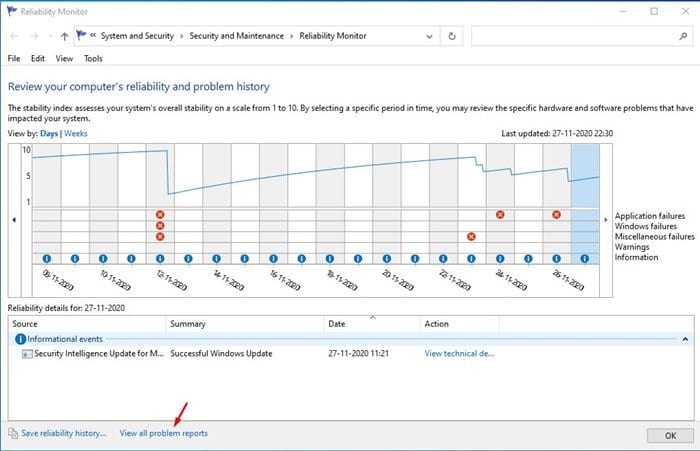
3. Once done, you will see a screen like below.
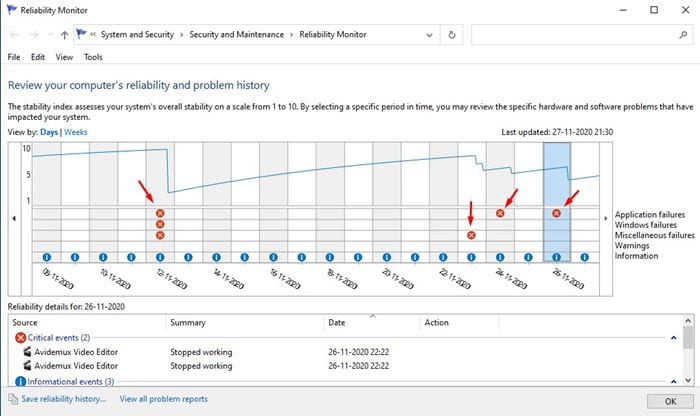
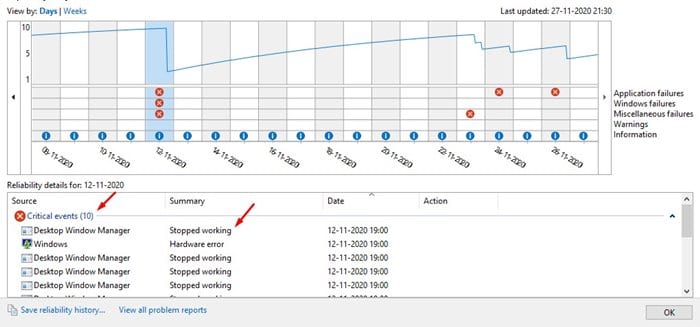
4. Reliability Monitor will show you the history of events for the last few weeks. 5. You need to check the red circles with an ‘X’ to know about the crash detail. The symbol represents software or hardware failure.
6. To view all problem reports, click on the ‘View all problem’ option located at the bottom of the page.
6. To find out more details about the critical events, simply double click on the event.
That’s it! You are done. The Reliability Monitor tool can give you an idea of when crashes or other major events happened. You can use this data to troubleshoot Windows 10 problems. Also read: Download UC Browser for PC Latest Version So, this article is all about how to use the Reliability Monitor tool on Windows 10 computers. I hope this article helped you! Please share it with your friends also.
